Hi mate, Are you developing any Websites or any blogs with google Analytics and other tags. But, Here the thing is analytics works with respective tracking code and the tags for links. Even every web developer will use all of these for good SEO.
But the same time you need to know, those are all validated for your website/blog or any error occurring.
Do not worry about, We have lot of tools available to know that. Those are Google Tag Assistant and Firefox Web Console and so on.
Google Tag Assistant
Pre-requisites for G-Tag Assistant :
- Chrome Web Browser
- Email ID of Google account
- Extension – Tag Assistant
- HAR file.
To follow the below procedure :
- First of all, Login to the google account with your credentials.
- Then you need add the Tag-assistant Extension to chrome browser. You can do it manually by searching tag-assistant keyword in search engine or play store.
- After that you need to generate HAR file. This is required to upload into browser fot Tag#Assistant report.
About HAR File : It is a http/https Archive file. Which is generated in JSON formatted archive file. It is for browser interaction with a blog/website. (Extension – .har) - It can be generate in two ways. One is manual process and another one is directly by using Tag#assistant Extension.
-
Manual Process :
- Go to the web page, which you like to analyse the analytics reports, Then press F12 or Ctrl+Shift+C.
- Then fire bug will open, go to Network tab.
- Here, you need to record the data for respective page with .har extension. So, There are two buttons available. One is circle with RED/GRAY [Red means recording is going on/ Gray means recording is not started] color and another one is circle with diagonal line.
- Note : Before recording, you need to clear the cache & unnecessary links by clicking on button which having diagonal line And check the preserve log.
- Now start the Recording(Ctrl+E) and wait few seconds. Then press F5.
- Now save the file by right click on under the Name field. i.e., at the bottom of the page then choose as “Save as HAR with content”.
- That’s it. It will generated the HAR-file & upload it in to google-Assistant.
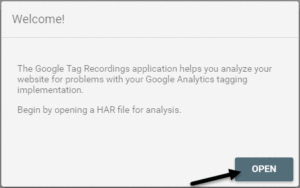
- Tips : For manual upload, the window appear like as below screen shot. If you want to upload once again, then just refresh the page, then again it’ll ask.

-
Direct tracking Process :
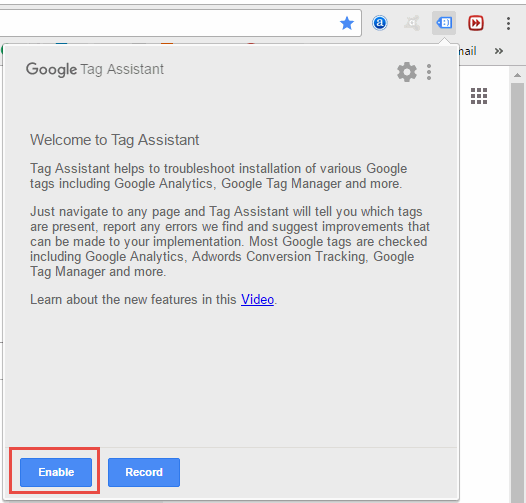
- Click on resp extension extension then enable it.

- Now start the recording the page data. Then hit on Refresh button of the page then it will gives the all tracking analytical report of that page.
- Click on resp extension extension then enable it.
- From there, easily analyze the issues/error on respective page.
Thank You!
“If you like this Article, Hit me with Facebook like button or/and share to your friends. If have any queries, drop a comment as below”